
vue路由传值的几种方式是什么
时间:2021-09-22
来源:互联网
标签:
今天PHP爱好者给大家带来vue路由传值的方式:1、利用“router-link”路由导航来传递;2、调用“$router.push”实现路由传参数值;3、通过路由属性中的name匹配路由,再根据params传递参数值;4、通过query来传递参数值。希望对大家有所帮助。

本教程操作环境:windows7系统、vue2.9.6版,DELL G3电脑。
vue路由传参值的方法
一、router-link路由导航
父组件: 使用<router-link to = "/跳转路径/传入的参数"></router-link>
例如:<router-link to="/a/123">routerlink传参</router-link>
子组件: this.$route.params.num接收父组件传递过来的参数
mounted () {
  this.num = this.$route.params.num
}
路由配置::{path: '/a/:num', name: A, component: A}
地址栏中的显示::http://localhost:8080/#/a/123
二、调用$router.push实现路由传参
父组件: 绑定点击事件,编写跳转代码
<button @click="deliverParams(123)">push传参</button>
  methods: {
    deliverParams (id) {
      this.$router.push({
        path: `/d/${id}`
      })
    }
  }
子组件: this.$route.params.id接收父组件传递过来的参数
mounted () {
  this.id = this.$route.params.id
}
路由配置::{path: '/d/:id', name: D, component: D}
地址栏中的显示::http://localhost:8080/#/d/123
三、通过路由属性中的name匹配路由,再根据params传递参数
父组件: 匹配路由配置好的属性名
<button @click="deliverByName()">params传参</button>
    deliverByName () {
      this.$router.push({
        name: 'B',
        params: {
          sometext: '一只羊出没'
        }
      })
    }
子组件:
<template>
  <p id="b">
    This is page B!
    <p>传入参数:{{this.$route.params.sometext}}</p>
  </p>
</template>
路由配置: 路径后面不需要再加传入的参数,但是name必须和父组件中的name一致{path: '/b', name: 'B', component: B}
地址栏中的显示: 可以看出地址栏不会带有传入的参数,且再次刷新页面后参数会丢失http://localhost:8080/#/b
四、通过query来传递参数
父组件:
<button @click="deliverQuery()">query传参</button>
    deliverQuery () {
      this.$router.push({
        path: '/c',
        query: {
          sometext: '这是小羊同学'
        }
      })
    }
子组件:
<template>
  <p id="C">
    This is page C!
    <p>这是父组件传入的数据: {{this.$route.query.sometext}}</p>
  </p>
</template>
路由配置: 不需要做任何修改{path: '/c', name: 'C', component: C}
地址栏中的显示: (中文做了转码)http://localhost:8080/#/c?sometext=%E8%BF%99%E6%98%AF%E5%B0%8F%E7%BE%8A%E5%90%8C%E5%AD%A6
以上就是vue路由传值的几种方式是什么的详细内容,更多请关注php爱好者其它相关文章!
-
 Python中headers的作用及用法详解 时间:2025-12-30
 -
 什么是网络分层 网络分层分为哪几层 网络分层的目的和优缺点 时间:2025-12-27
 -
 MySql UNIX_TIMESTAMP和FROM_UNIXTIME函数详解 时间:2025-12-27
 -
 什么是虚拟私有云VPC 虚拟私有云VPC是干嘛的 时间:2025-12-27
 -
 Linux防火墙netfilter和iptables的区别 时间:2025-12-27
 -
 目前有哪些容灾备份技术 比较其优缺点 时间:2025-12-27
今日更新
-
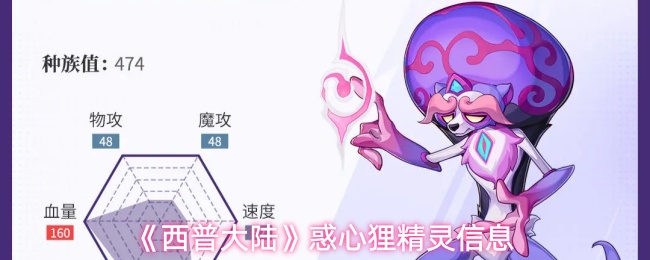 《西普大陆》惑心狸精灵信息
阅读:18
-
 《西普大陆》甜芙蕾精灵属性一览
阅读:18
-
 龙之觉醒狂暴之力BUFF介绍
阅读:18
-
 《原始传奇》新手玩法攻略
阅读:18
-
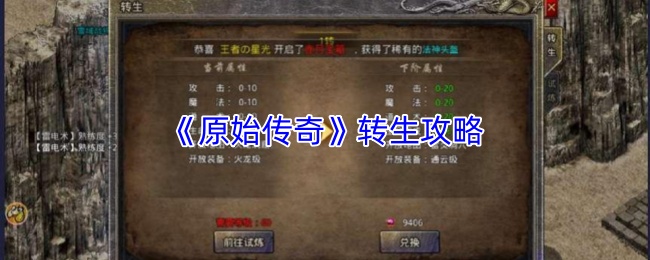 《原始传奇》转生攻略
阅读:18
-
 豌豆公主app豌豆密令使用方法
阅读:18
-
 豌豆公主app缓存清除方法
阅读:18
-
 《热血传奇》装备系统介绍
阅读:18
-
 约球天下app使用说明
阅读:18
-
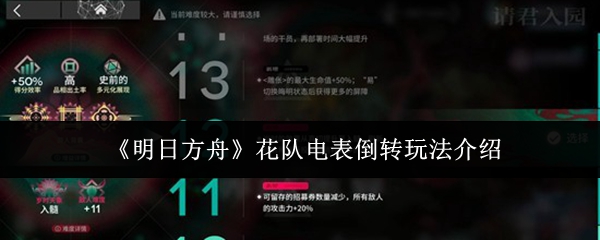 《明日方舟》花队电表倒转玩法介绍
阅读:18